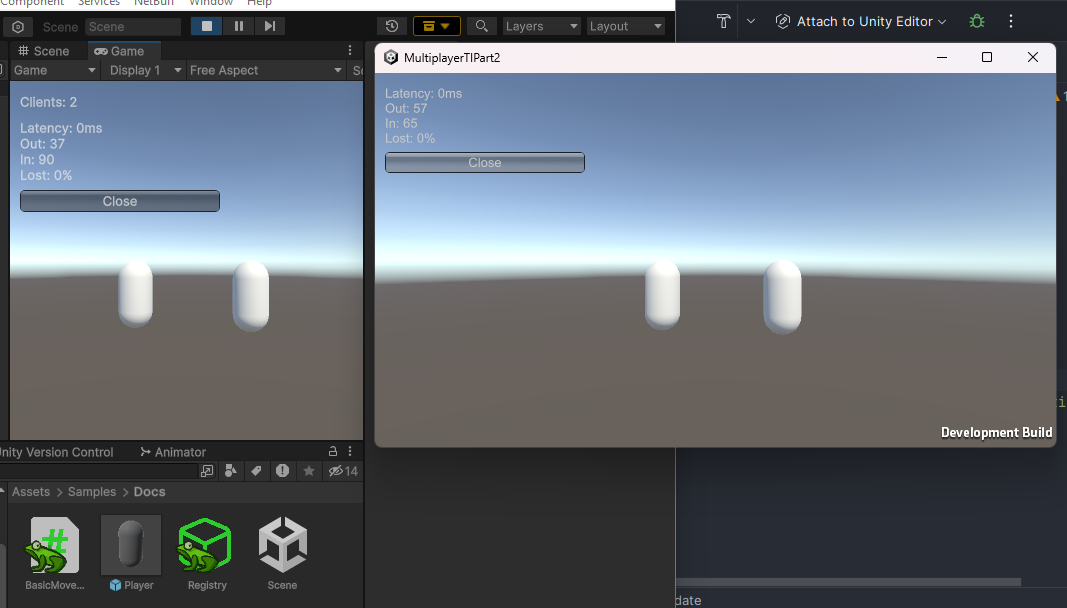
Getting Started
In the following sections, you'll find guidance on setting up a NetBuff project. We recommend using Unity 2023.2 or a newer version.
Installation Guide
- Go to the Unity Package Manager (Window -> Package Manager).
- Click the "+" button in the top-left corner of the window.
- Select "Add package from git URL...".
- Paste the link below and click "Add".
- That's it! Now the package is installed. You can also download samples if you wish.
1 | |
Network Setup
Create an empty scene to begin with. We recommend using the Basic (Built-In) template:
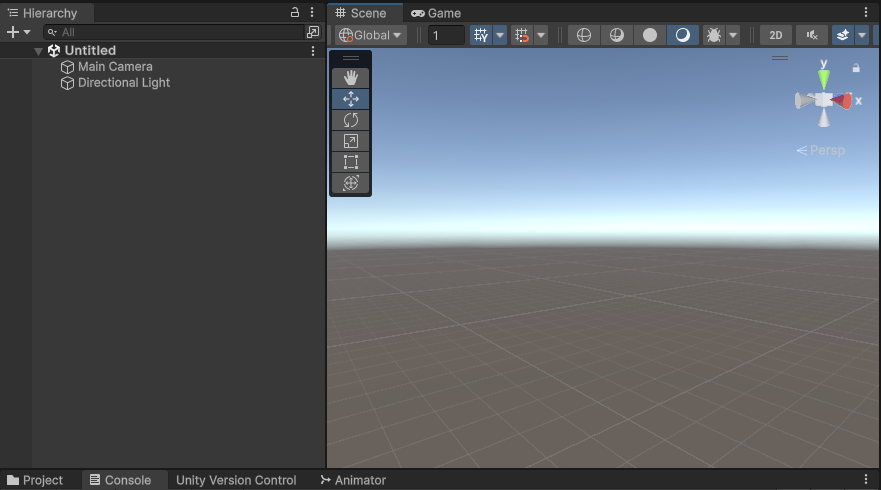
Now, create a new GameObject and add the following components to it:

Network Manager
The NetworkManager is the main networking component. It manages connections, objects, packets, and everything else related to networking, being a singleton component in the networking setup.
Network Manager GUI
The NetworkManagerGUI is a temporary component used for testing purposes. It creates a menu where you can manage network connection, find all servers on the network, and see network statistics.
UDP Network Transport
The UDPNetworkTransport is the basic transport used to establish server-client connections over the internet.
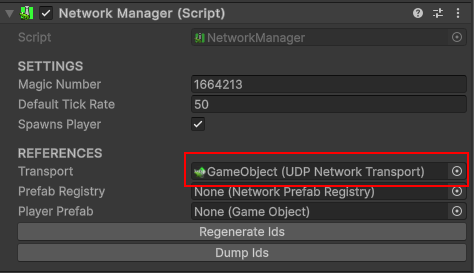
Set Network Transport
Now we need to set the network transport in the network manager. Simply drag and drop the transport onto the transport field of the manager:
Creating the player prefab
If you start the game and try to host a server, you'll see an error in the console. By default, we need to provide a player prefab to the NetworkManager to spawn the player object. Following the steps below, we can create a simple player prefab:
- Create a new capsule.
- Add a NetworkTransform component.
- Drag it as a prefab into the Project View.
- Delete it from the scene.
Creating the prefab registry
Now you're one step away from success! Even if you set the player prefab, all networking ends must know which prefab the server is trying to spawn, so we need to set up our NetworkPrefabRegistry first.
- Create a new NetworkPrefabRegistry in the Project Folder context menu.
- Add the prefab to the registry list (Click the + button to add a new slot to the registry).
- Click the N button to generate a new ID.
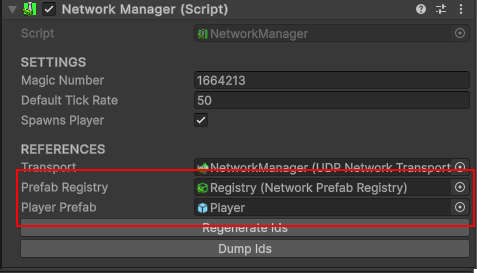
- Set it in the registry field of the NetworkManager.
- Set the player prefab in the player prefab field of the NetworkManager.
Done!
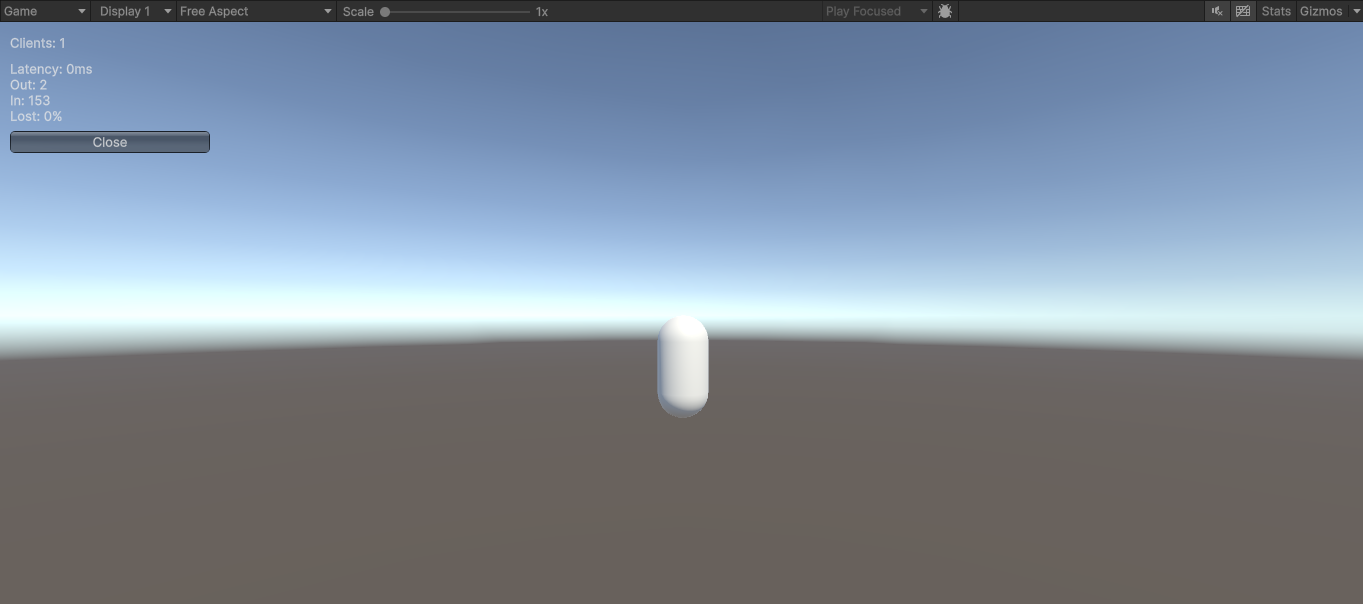
Now we're ready! You can click the play button and then click Start Host to start hosting (Client + Server).
Simple Movement Test
By creating a simple script, we can test our server. You can use the code below or create your own logic!
1 2 3 4 5 6 7 8 9 10 11 12 13 14 15 16 17 | |
Add it to the player and run the game again! You can even build and join the server as a client because your multiplayer game is already working!
